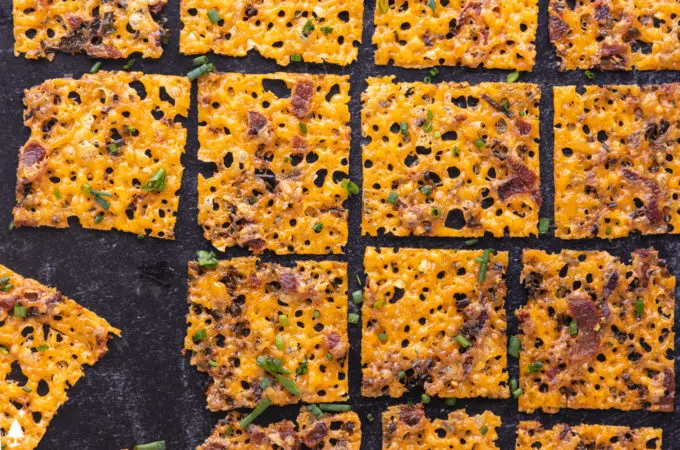
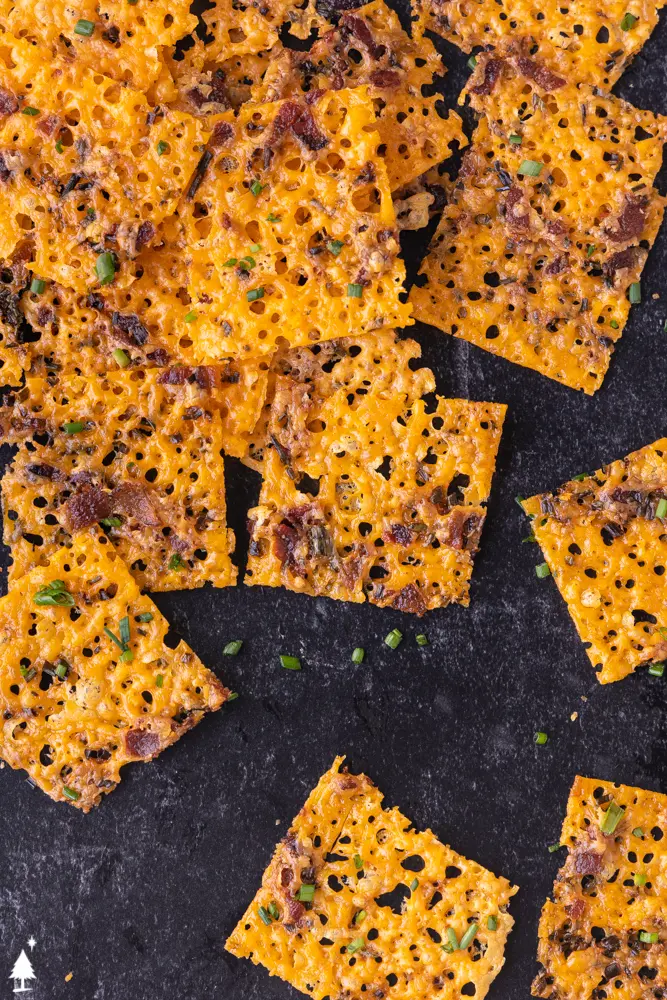
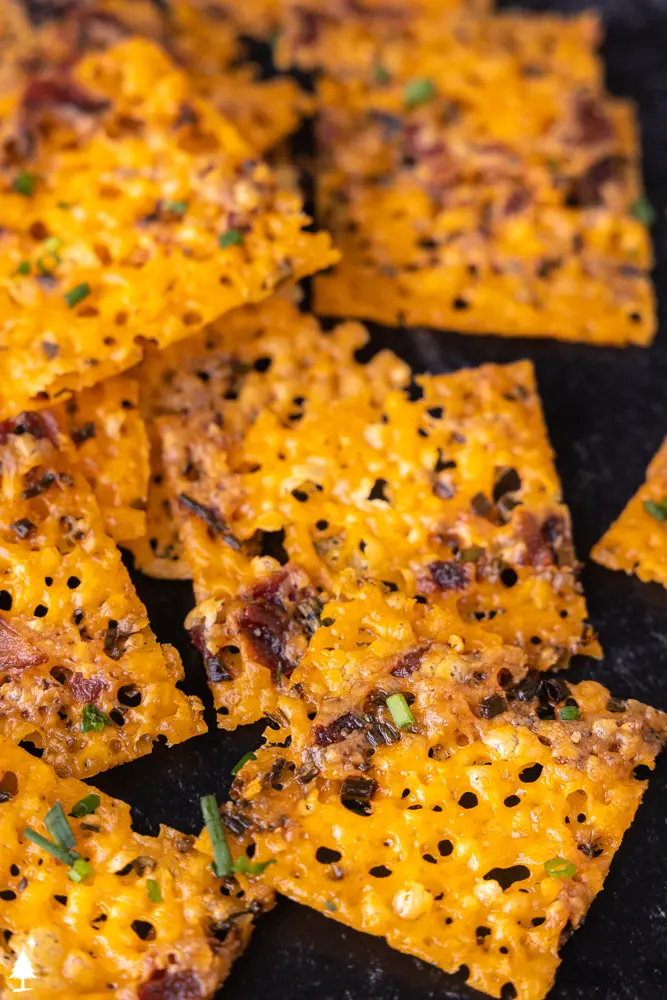
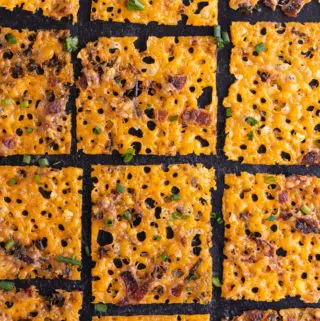
Yes. You read that right. Bacon cheese chips. Crispiness from every direction.
Easy to make. Easier to eat. I love classic parmesan crisps, and this keto tortilla chips, but these keto chips are a major, MAJOR upgrade.
Want to Save This Recipe?
Enter your email below and we'll send it straight to your inbox. Plus you'll get great new recipes from us every week!
[wpforms id="103279"]
Keto Cheese Chips Video Tutorial
On your phone? Check out my web story here.
Cure Your Cheesy, Crunchy Cravings
You know that perfect crispy, cheesy crust along the edge of a casserole or taco? Let’s be honest, it’s the best part. These are like that. I’m sure you know this, but when shredded cheese bakes in the oven, as it cools, it becomes crunchy perfection.
Eat these on their own or with a dip as an awesome substitute for crackers. Excellent crispy surprise in a salad. A perfect nibble at happy hour. A bigger version could even become a taco shell, in case you need an excuse to make more…
One of my favorite flavor combinations ever is cheddar + bacon + green onion (hello, baked potato!) but you could also make these plain if you prefer. These will stay crunchy–so I make them when I know there’s a busy week ahead for an easy-to-grab treat.
Cheese Crisps Perfected: Tips + Tricks
- Baking sheet. Be sure to bake these on a rimmed baking sheet, as this will catch the grease released by the cheese (which would otherwise create a giant mess in the oven). Also, parchment paper makes clean up a breeze.
- Even layer. You want to get the cheese in a thin and even layer to promote uniform cooking.
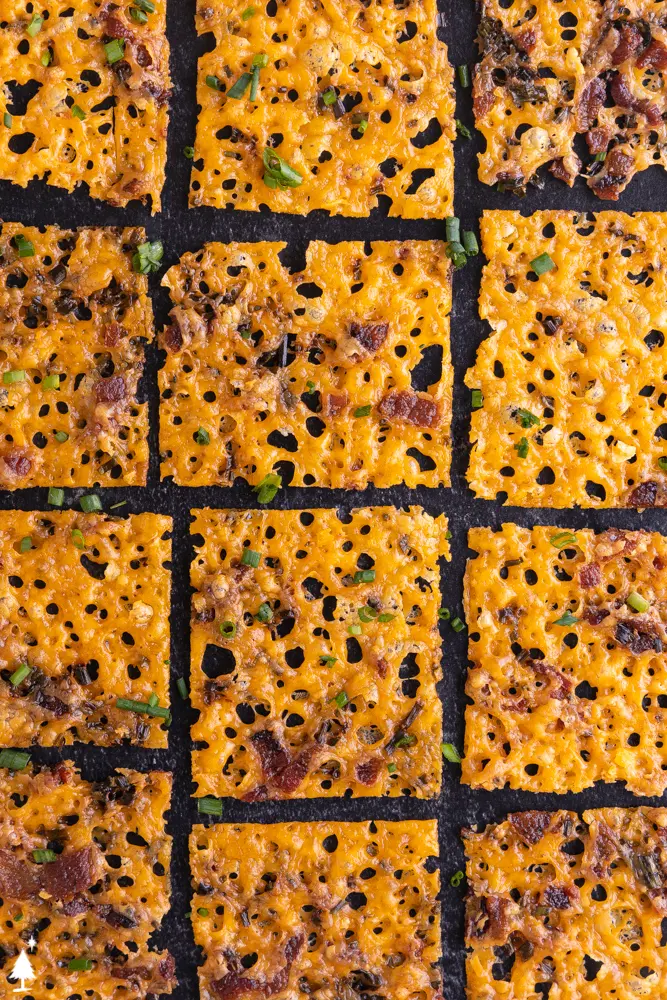
- Slicing. Allow the cheese to partially cool before slicing your bacon cheddar crisps into shape, otherwise, you will burn your hands, AND the cheese will melt over the slices. I use a pizza cutter to cut the chips into shapes. Squares or triangles (ala keto nachos) are easiest.
- Storing. Cheese chips do need to be stored in the fridge. Allow them to cool and harden completely, then stack them in a resealable bag or airtight container.
- Re-crisping. When stored in the fridge, cheese chips will lose a bit of their crispness, which you can quickly bring back by baking them in the oven again for a few minutes, until they’re just crispy.
How to Eat (Think Beyond Snacks)
From keto snacks to keto appetizers, there are So. Many. Ways. to eat these cheese and bacon crisps. Some of my favorites include:
- A crunchy topping to keto salads or keto soup
- Mini sandwiches with deli meat (use these cheese chips in lieu of bread)
- Serve them on a plater by themselves, or as a crispy upgrade to your charcuterie plate
How to Make Cheese Crisps in the Microwave?
The easiest way to make cheese chips in the microwave is to use sliced cheese, sandwiched between 2 sheets of parchment paper. Microwave your cheese on high for 2 minutes, then transfer the cheese to paper towels to absorb excess grease.
Recipe Variations
- Use a different kind of cheese. Wondering what cheese is keto? Almost all cheeses are keto cheese, check out our guide to keto cheese for specifics–for this cheese chips recipe, feel free to sub in any sort of meltable cheese.
- Make ’em spicy with cayenne pepper, or maybe some sliced jalapenos (check out my jalapeno parmesan crisps for ultra spice).
- Turn these into taco shells by forming large circles on your baking sheet, then allowing the cheese to harden as it’s draped over an elevated wooden spoon–the easiest way to do this is to balance the spoon on 2 tall water glasses. Specific recipe instructions here: cheese taco shells
More Crispy Appetizer Recipes
Cheese Chips
Print Recipe Pin RecipeIngredients
- 2 Cups Sharp Cheddar Cheese shredded
- 4 Pieces Bacon cooked + crumbled into small pieces
- 3 Tablespoons Chives chopped
Instructions
- Prep. Preheat oven to 400 F and line a rimmed baking sheet (note 1) with parchment paper.
- Combine + shape. Toss cooked and crumbled bacon (4 pieces), chives (3 tablespoons), and cheese (2 cups) together in a medium bowl. Spread cheese onto the prepared baking sheet in a thin and even layer.
- Bake, cool + slice. Bake for 12-14 minutes, or until the cheese starts to brown around the edges. Remove baking sheet from the oven, and allow the cheese to cool slightly. Use a pizza cutter to cut into your desired shape. Cheese chips will continue to harden as they cool. Store in the fridge (note 2), and enjoy!
Fans Also Made These Healthy Recipes:
Lindsey's Tips
- A rimmed baking sheet is required to catch the excess grease from the cheese, otherwise, it will spill out into your oven.
- Storing. Cheese crisps must be stored in the fridge. To re-crisp, simply toss them in the oven for a few minutes.
- Nutritional information. Since everyone will cut their chips into different shapes and sizes, the easiest way to calculate is to divide this recipe into 8 servings. 1 serving is reflected in the nutritional information below:
